How to use Copy/Monitor in Revit to coordinate linked models
Copy creates new host levels and grids, Monitor pairs the ones you already have, and you settle each linked change in Coordination Review.
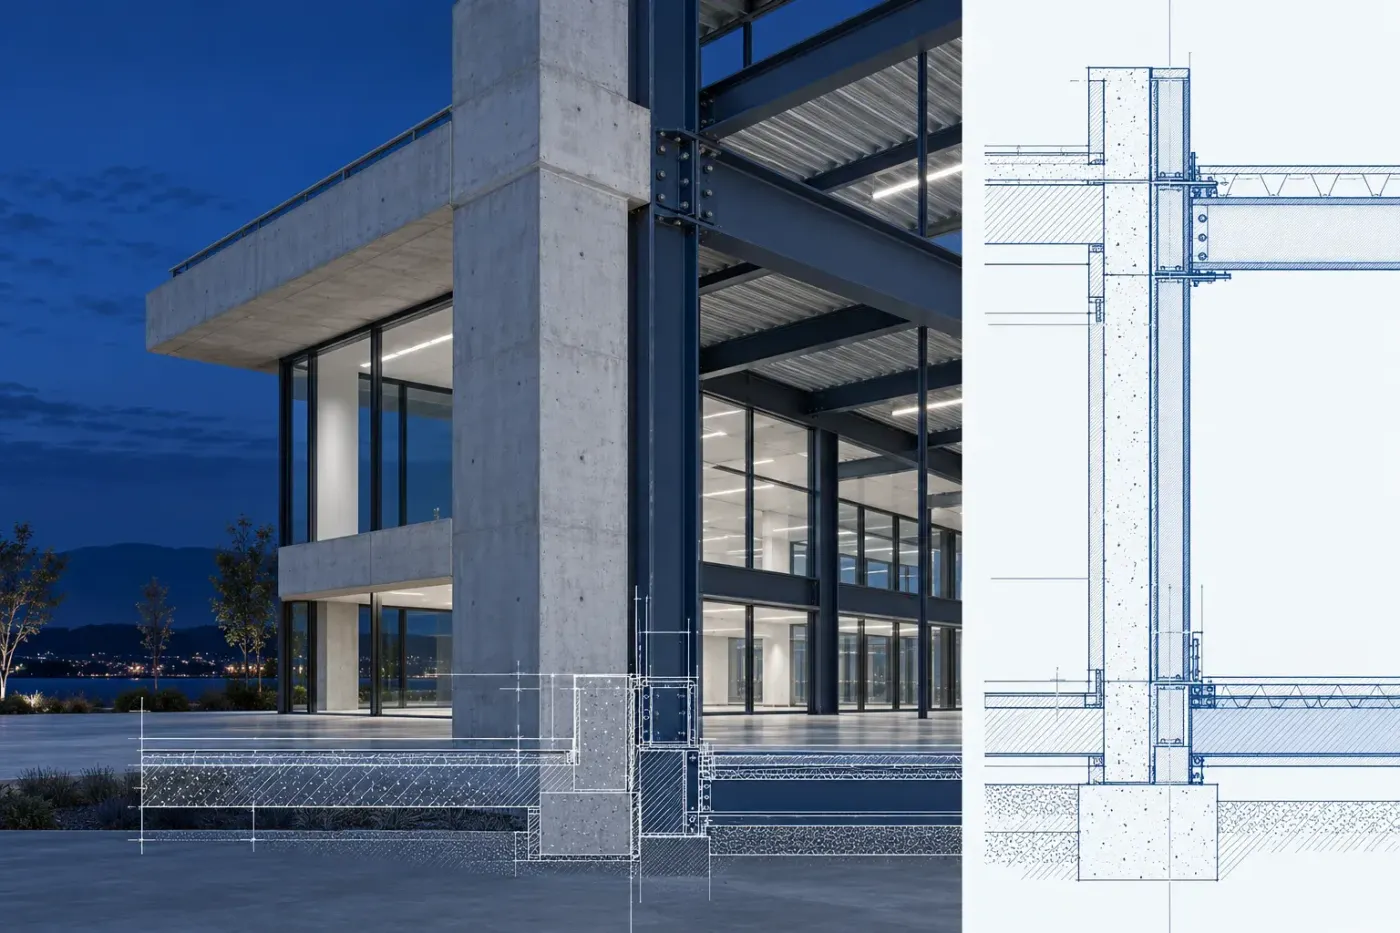
Copy/Monitor in Revit gives your structural or MEP model its own copies of important elements from an architect's linked model, then warns when the monitored source changes. Find it at Collaborate > Coordinate > Copy/Monitor > Select Link. Use Copy when the host needs new elements, or Monitor when the corresponding host elements already exist. The relationship flags a difference; you decide what changes through Coordination Review.
The steps and control names below follow full Revit 2027. On a Revit LT seat, stop here: Revit LT can't use the Copy/Monitor tools, so it can't copy, pair or review these elements. LT still opens a project that uses Copy/Monitor and warns when a change breaks a monitored pair, but the coordination review has to happen in full Revit, and clicking an element in LT doesn't show whether it's monitored.
Decide whether the host needs another element
| Set it here | It reaches | Choose it when |
|---|---|---|
| Copy, inside Copy/Monitor | Creates a host element and a monitoring relationship to its linked source | Your engineering model does not yet have the required level or grid |
| Monitor, inside Copy/Monitor | Pairs an existing host element with a corresponding linked element | The host already has the level or grid you intend to retain |
| Coordination Review | Records a decision or changes the host, depending on the action selected | A monitored pair has changed and needs a design decision |
For an established model, I'd start with Monitor without copying because it retains the host's existing levels and grids. Deleting levels to make room for fresh copies is a poor default: Autodesk's level-copying procedure warns that deleting an existing level also deletes its corresponding plan views. Keep those levels and establish the intended pairs unless the project team has deliberately planned a datum replacement.
Start from a positioned RVT link
Agree first which architectural RVT supplies the datums, how it's positioned and which team owns changes to them. Copy/Monitor pairs two project models, so if you were handed a family or template instead of an RVT project, the extensions in Revit file types tell you which one you have before you link anything.
- Open the host engineering model. If the architectural model isn't linked yet, choose Insert > Link > Link Revit, select its RVT in Import/Link RVT, set Positioning, then click Open.
- Use the project's agreed positioning. Autodesk's linking procedure names Auto - Origin to Origin for most cases and Auto - By Shared Coordinates when the current model uses shared coordinates. Check the link's position against the host before establishing monitored pairs.
- Select the RVT link and choose Modify | RVT Links > Modify > Pin. Pinning prevents an inadvertent move of the whole linked model.
- Open an elevation for levels or a floor plan for grids. In the view properties, set Discipline to Coordination so the view displays elements across disciplines.
Check the release before a shared handover: when the host opens an older linked model, the link upgrade is temporary and isn't saved with the host, but a linked RVT that's been opened, upgraded and saved on its own won't reopen in the earlier release. Saving down is a separate decision, covered with older release files.
Keep host and linked filenames stable after the monitoring relationships are established. Autodesk's Copy/Monitor best practices warns that renaming either file prevents those relationships from being maintained. Its other useful constraint is to monitor the smallest set of elements the teams need.
Set Options before selecting source elements
Choose Collaborate > Coordinate > Copy/Monitor > Select Link, then select the architectural link. Open Copy/Monitor > Tools > Options. These Copy/Monitor options apply to subsequent selections, so make the choice before picking the source elements.
On the relevant element tab, check Original type against New type. Map the source to the host type you need, or choose Don't copy this Type to exclude it. Under Additional Copy Parameters, inspect the settings for that category and click OK.

| Element | Check before copying | What the choice changes |
|---|---|---|
| Levels | Check Offset level, reuse and naming before selecting the levels. | A vertical offset can be intentional. Prefixes or suffixes distinguish the host level names. |
| Grids | Inspect reuse and grid-name prefix or suffix before choosing source grids. | Decides whether a host grid is reused or another is created. |
| Columns | Use Split columns by levels when a source column spans several stories. | Splits a column spanning several levels into shorter columns at the level lines. |
| Walls | Review Location line to align and Copy windows/doors/openings for the required host wall. | Controls alignment and copies openings for the inserts. Those openings are wall-opening elements, not replacement door or window families. |
| Floors | Decide whether Copy openings/inserts should include shafts and other hosted elements. | Includes hosted openings such as shafts. Set the copied floor's Structural property separately when needed. |
Reuse by name can move existing datums. With Reuse levels with the same name, the same-name host level moves to the linked level. Reuse grids with the same name likewise moves the host grid to the linked grid. Don't turn either on as routine cleanup in a populated model. Reuse if Elements match exactly is the safer pick, because it skips the copy only when a host level already sits at the same elevation or a host grid at the same location, so nothing has to move.
Copy levels first, then grids
Use this branch for required datums that the host doesn't already contain. If the project template supplied matching levels or grids, use Monitor for those pairs or make an explicit reuse choice in Options. Don't create a duplicate just to get a monitoring relationship.
Copy and check the levels in elevation
- With the elevation open and the architectural link selected through Copy/Monitor > Select Link, finish the level settings in Options.
- Choose Copy/Monitor > Tools > Copy, then select the source levels in the linked model.
- For several levels, turn on Multiple, pick the required levels, then click the Finish that closes the selection. Revit 2027 moved the old Options Bar controls to the ribbon and the Properties palette, so look for both on the contextual tab or in Properties while Copy is active. A selection box with a filter also picks every level in the link.
- Then click Copy/Monitor > Copy/Monitor > Finish. This second Finish leaves the Copy/Monitor editing state.
- Select a copied level in the host. A monitor icon should appear beside it, identifying its relationship to the linked source. Compare the elevation and any intentional offset against the source level.
The level-copy procedure creates plan views as a separate step. Choose View > Create > Plan Views, select the required plan-view type, then select the copied levels in New Plan and click OK. Open one of those plans from the Project Browser and check that it's the intended host level before placing engineering elements.
Copy and check the grids in plan
Open a floor plan that shows the linked grids. Start Copy/Monitor > Select Link again, select the link, and review the grid Options. Choose Copy and select the grids. With Multiple on, close the selection with its own Finish first, then click Copy/Monitor > Copy/Monitor > Finish. Autodesk recommends copying one element type at a time and checking the result before proceeding to another type.
Outside the editing state, select a copied host grid and check its monitor icon. Compare its line and name in a second plan view as well as the view where you copied it. A visible linked grid alone doesn't establish that you have selected the host's monitored counterpart.
Pair existing host elements with Monitor
When both datums already exist, Monitor establishes the pair without copying another element. Open a view where you can distinguish both elements, set its Discipline to Coordination, and keep the link pinned.
- Choose Collaborate > Coordinate > Copy/Monitor > Select Link and select the architectural model.
- Choose Copy/Monitor > Tools > Monitor.
- Select the element in the current host model first, then its corresponding element in the linked model. Pair a level with a level or a grid with a grid.
- Repeat for the required pairs, then choose Copy/Monitor > Copy/Monitor > Finish.
Select the host element afterward and check that the monitor icon displays next to it. Also check the intended physical relationship in elevation or plan. Establishing a pair is a separate decision from choosing whether two datums should coincide or keep an agreed offset.
Resolve link changes in Coordination Review
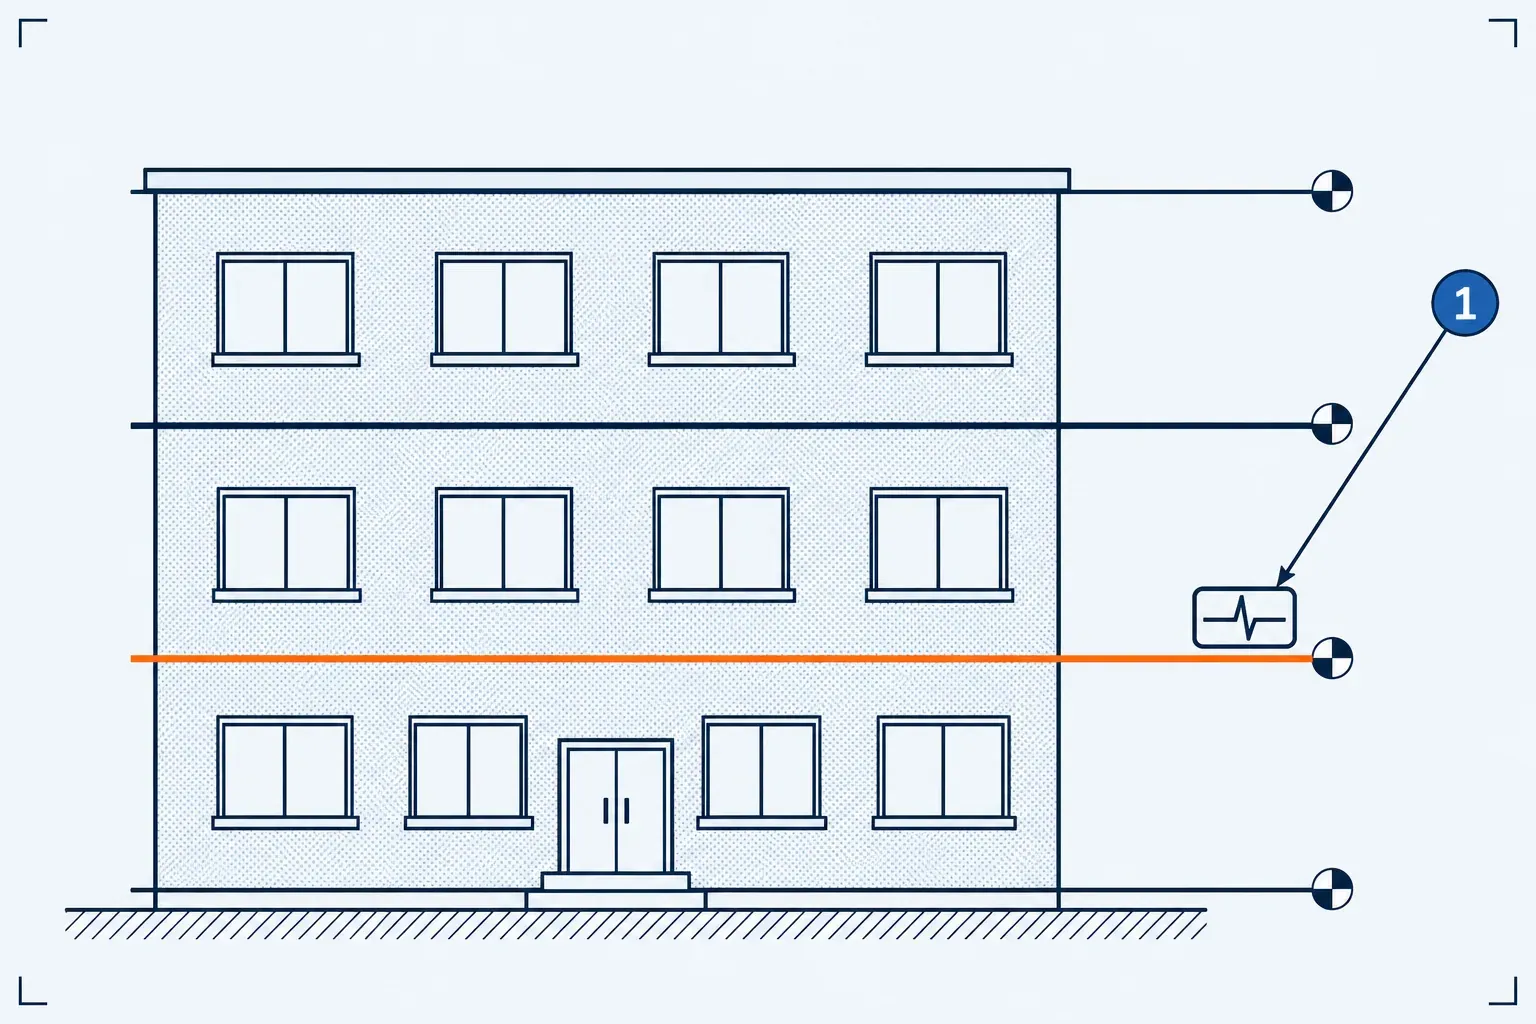
When a monitored source moves, changes or is deleted, opening the host or reloading the link can raise a warning. Coordination Review actions affect the current model only; none edits the linked architectural model. The choices offered depend on the warning.
- Choose Collaborate > Coordinate > Coordination Review > Select Link, then select the architectural link.
- In the dialog, inspect the host-model tab. The linked model has a separate tab, which can carry the other team's comments.
- Expand the Message entries until the Action column contains choices. Use Elements for element details and Show to locate the affected element.
- Inspect the geometry before choosing the action. You can double-click another view in the Project Browser while Coordination Review remains open.
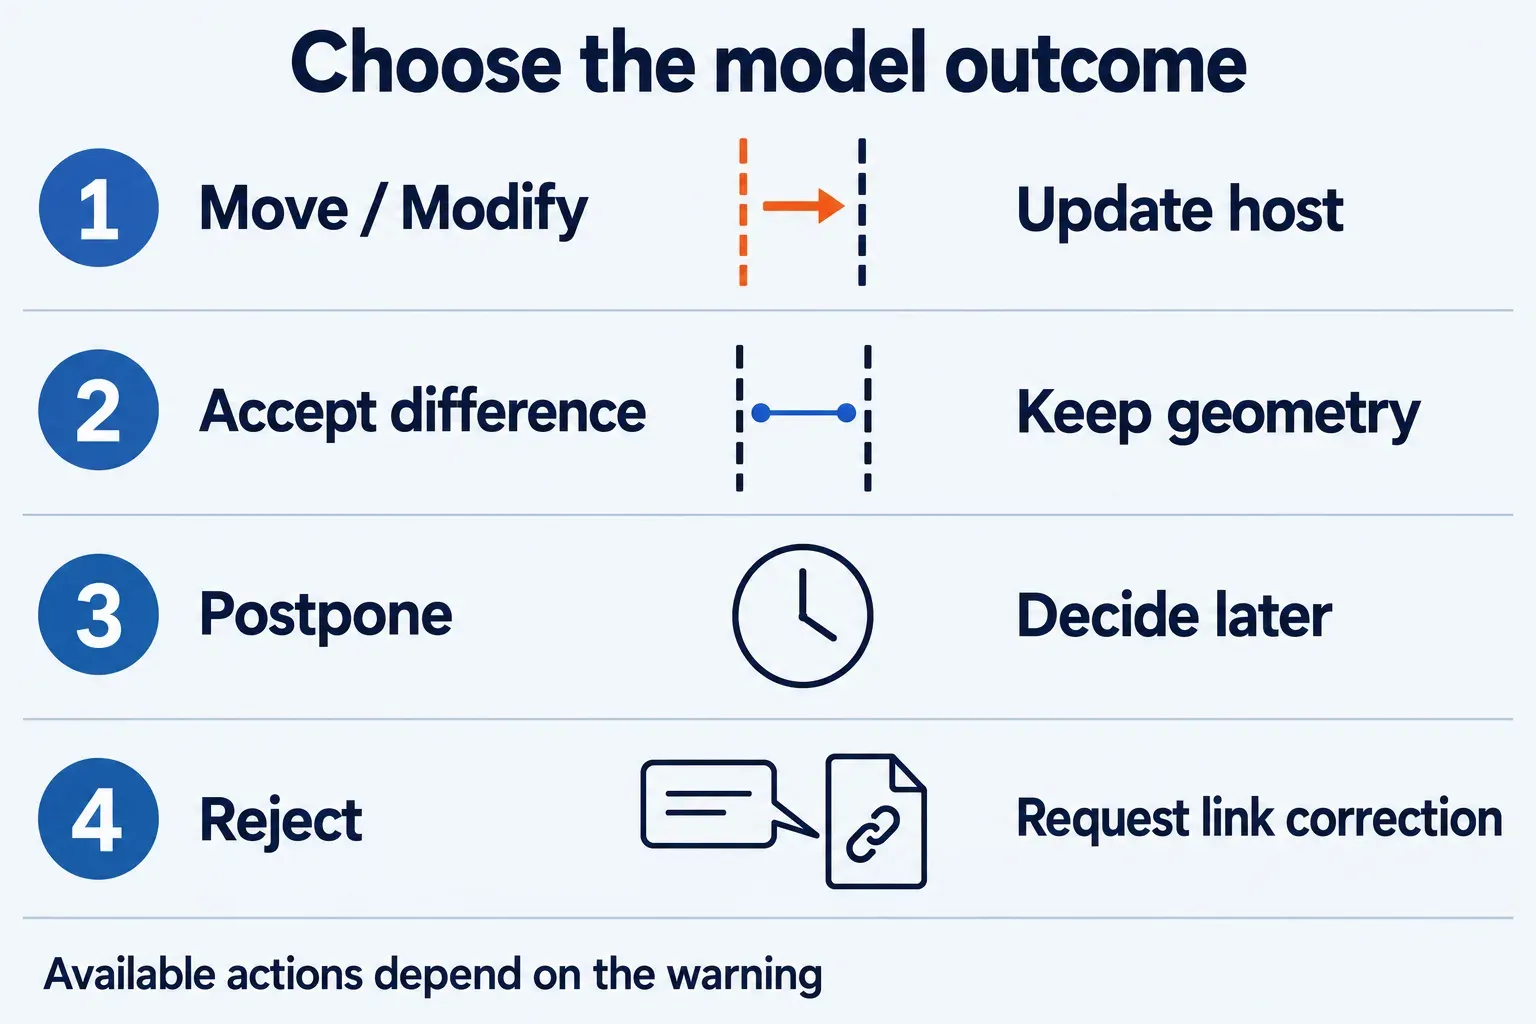
- Choose the appropriate action for each item. To explain the decision, select Add comment in the Comment column, enter the text in Edit Comment, then click OK. Other team members can read those comments after opening or reloading the link and performing their review.
| Your decision | Action when available | Effect |
|---|---|---|
| The host must follow the source change | Move, Modify, Rename or Update extents | Applies that kind of change to the corresponding host element. |
| The difference is intentional | Accept difference | Updates the relationship without moving the elements. |
| The decision needs more information | Postpone/Do nothing | Leaves the issue for a later decision. |
| The linked side needs correction | Reject | Records that the associated linked element needs a change; it does not make that change in the link. |
Accept difference isn't an alignment command. Use a model-changing action when the host must follow the source. Delete element needs more care: it deletes the corresponding local element after a source deletion. For a level, remember the associated plan-view deletion risk before accepting that action.
After a model-changing action, inspect the affected host level in elevation and the related plan, or compare the changed grid in another plan view. Check hosted design elements before continuing their layout. A handled warning records a coordination decision; the view check establishes that the visible result is the one your discipline intended.
Where Copy/Monitor stops
The eligible-element list covers levels, grids, columns, walls, floors, related openings and supported MEP fixtures. It excludes multi-segment grids and slanted columns; the tool isn't intended for in-place elements, design options or project phasing. It also doesn't copy custom instance parameters or the Identity Data fields Image, Comments and Mark. So don't treat a copied element as a complete metadata duplicate.
View-specific changes such as scale and visibility don't generate coordination warnings. If a datum looks different only in one view, inspect that view's display before interpreting it as a change to the monitored model element.
There are geometry limits too: a copied shape-edited floor becomes flat. Imported form-making geometry isn't on the eligible list at all, so Rhino geometry in Revit needs its own handover. Copy/Monitor tracks selected relationships; Autodesk's workflow separately calls for interference checking to identify invalid intersections between models.
The supported fixture categories include air terminals, electrical equipment, lighting fixtures and plumbing fixtures. Their copying uses Coordination Settings for copy behavior, mapping and type mapping. That's a separate branch from the level-and-grid Options above. Once the datums are paired, the discipline tools for MEP in Revit take over the layout.
When a particular relationship is no longer required, select the monitored host element and use Modify | <Elements> > Monitor > Stop Monitoring, or the corresponding Monitor panel on the Multi-Select tab. This stops monitoring the selected elements without requiring removal of the architectural link. Keep the pairs that still govern your design and make the next change through their coordination review.