BIM and Revit: what building information modeling means inside Revit
Revit is a platform for BIM work; BIM is the coordinated information a project team creates and uses with it. Follow one door from category, family, type and instance into a plan, a section, a schedule and a sheet, then see what links, worksharing and IFC add, and where Revit LT stops.
BIM and Revit are not the same thing: BIM is the creation and use of coordinated, computable information about a building, and Revit is the Autodesk software in which that information is modeled, scheduled and drawn. Autodesk's Revit API glossary defines building information modeling as "the creation and use of coordinated, internally consistent, computable information about a building project in design and construction", and the About Revit page in the Revit 2027 help describes Revit as "a design and documentation platform that supports the design, drawings, and schedules required for building information modeling (BIM)".
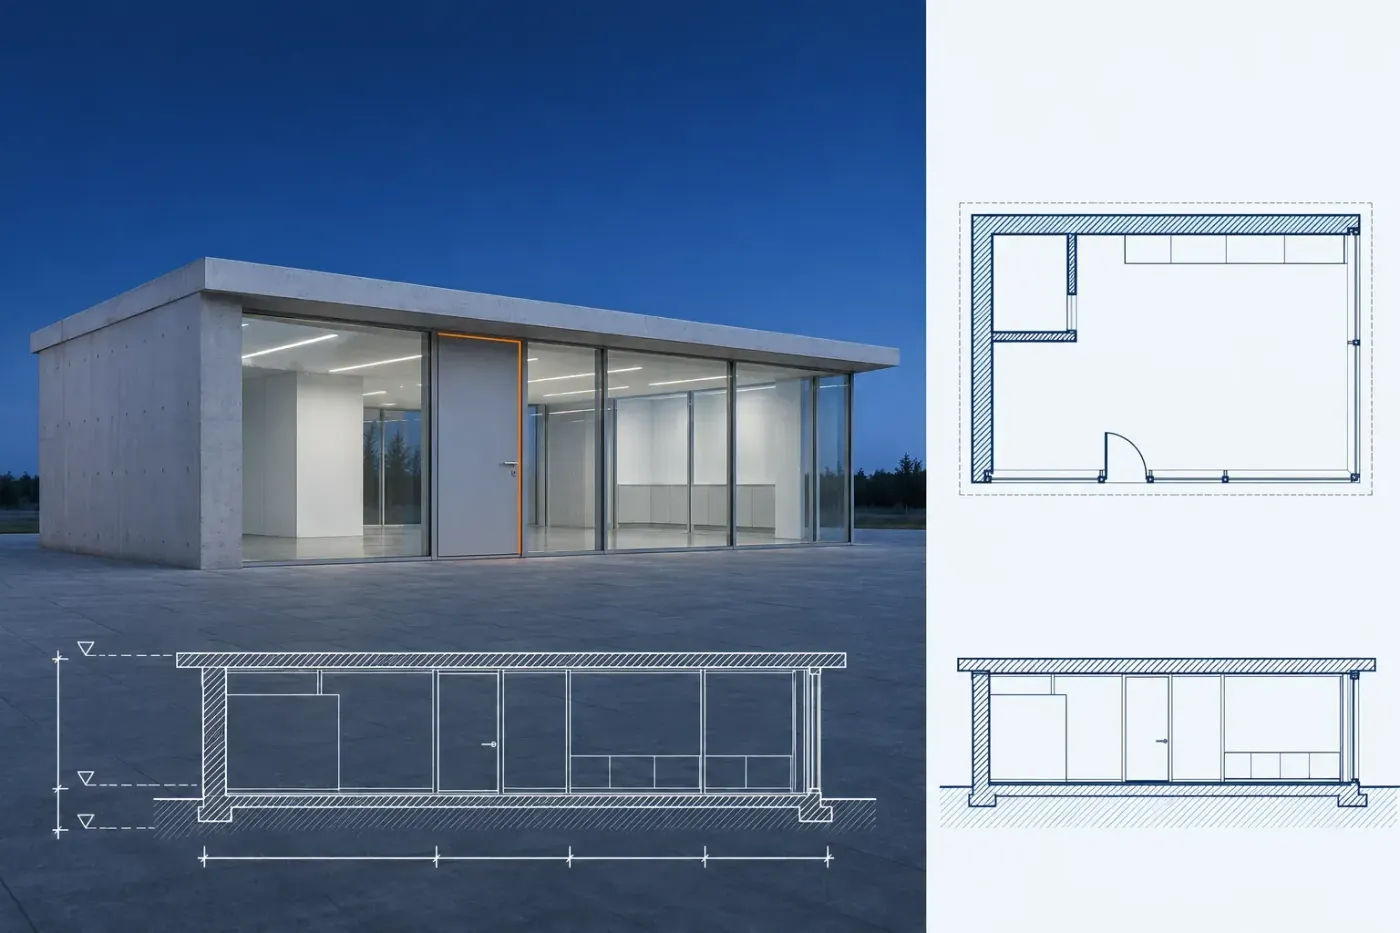
The same glossary entry draws the line that matters at the desk: in a BIM application the graphics are derived from the information, while in general CAD the graphics are the original information. This page follows that line with a single door, from the category it belongs to down to the one door in one wall, then out into a plan, a section, a 3D view, a schedule and a sheet, and finally past the edge of the Revit file, where coordination, exchange formats and teamwork begin. It belongs to the BIM basics and comparisons hub, next to the other starting pages.
Drawings that read from the model
With independent 2D drawings, each view of a door has its own linework. Revit derives its views from the model. The About Revit page says every drawing sheet, 2D and 3D view and schedule is a presentation of information from the same virtual building model, and that the Revit parametric change engine coordinates a change made anywhere: in model views, drawing sheets, schedules, sections and plans. Autodesk's page on parametric relationships uses a door as its example: if the door sits a fixed dimension from a partition wall and the wall moves, the door keeps that dimension, and "You do not have to intervene to update drawings or other content." If maintaining independent DWGs is your main job, compare Revit with AutoCAD before choosing the route.
Reach starts with the three kinds of elements Revit uses. Model elements such as walls, doors, windows and roofs are the actual 3D geometry of the building, and they display in the relevant views of the model. Datum elements (grids, levels and reference planes) define the project's context. View-specific elements display only in the views where they are placed: dimensions, tags and keynotes as annotation, and detail lines, filled regions and 2D detail components as details. A door drawn with detail lines in one plan therefore reaches that plan and nothing else, which is why everything below uses a real door. Autodesk's Revit Fundamentals section starts from the same difference and describes its Review the Basics course as a way to "transition from 2D workflows to BIM using Revit". For the product itself, editions included, start with what Revit does and who uses it.
One door, followed down the ladder
A model element you place, such as a door, is an instance of a type, the type belongs to a family, and the family to a category, so the door sits on four rungs: category, family, type and instance. The routes and parameter names below follow Revit 2027. If you work in Revit LT, Autodesk's Revit LT comparison lists the Family Editor, construction documentation and annotation among the parts LT keeps, and nothing in the door steps below depends on a tool that comparison marks as missing from LT; LT's in-place gap comes up at the family rung, and the file-to-file limits come later, where the model leaves a single file.
Start state: a floor plan view is open and contains a basic wall that can host the door. The route is Architecture tab > Build panel > Door, from the help page on placing a door. The Type Selector at the top of the Properties palette shows the door type about to be placed. If the type you need is missing, Load Family on the Mode panel of the contextual tab opens the library, where door families sit in the Doors folder. Tag on Placement, on the Modify | Place Door tab, Tag panel, adds a tag as the door goes in. Move the cursor over the wall to preview the door: in plan, the Spacebar flips the door hand from left to right, and moving the cursor closer to the inner or outer wall edge flips which side it swings to. Click to place it, and Revit cuts the opening. Place a second door of the same type in the wall; the two doors will let you compare a type change with an instance change. Expected result: the door shows in the wall, and with the door selected, the Properties filter just below the Type Selector names the category and how many elements are selected, which is the quickest way to confirm what Revit thinks you picked.
Category: what the door is
The category is the widest rung. The Revit API guide's classification of elements calls categories the most general class: anything in the walls category is considered a wall, and doors and rooms are categories of their own. Category is also the rung that schedules and tags start from. A new schedule begins by choosing a category such as Doors, and every category in the family library has a tag. That explains a common surprise: a door drawn as detail lines never reaches the door schedule, because those lines are view-specific details, not an element in the Doors category.
Family: a loadable door hosted by a wall
A family, in the help's About Families page, is a group of elements with a common set of properties, called parameters, and a related graphical representation. Revit has three kinds of families. System families such as walls, floors and roofs, and also levels, grids, drawing sheets and viewports, are predefined in Revit and are not loaded from external files. Loadable families such as doors, windows, casework and furniture are created in external RFA files and loaded into the project. In-place families cover non-standard or custom elements; Revit LT keeps in-place walls but, per Autodesk's Revit and Revit LT comparison, not other in-place elements. The door is loadable, and Autodesk's page on components and their hosts states the relationship plainly: "a door is hosted by a wall". Per About Doors, doors can be placed in plan, section, elevation or 3D views, and Revit cuts the opening itself. Keep this example in a basic wall: curtain-wall doors use a separate placement route.
Type: the values identical doors share
The type rung carries what a group of identical doors share. The help on element properties is explicit: "Each element you place in a drawing is an instance of a family type", and a change to a type property affects all current and future instances of that type. In a typical door family, such as the one Autodesk documents under door type properties, the type holds Construction Type, Function, Thickness, Height, Width, Trim Width, Model, Manufacturer, Description, Type Mark and Fire Rating. A family from another source can split its parameters differently, so check where Width sits in the family you have before relying on the pattern below.
| Set it here | It reaches | Choose it when |
|---|---|---|
| An instance property in the Properties palette, such as Sill Height, Mark or Comments | The selected door only | The value belongs to this one opening: its number, its sill, a note |
| A type property through Edit Type | Every current and future door of that type in the project | All doors of that type should change together, such as a new Manufacturer value |
| Duplicate in the Type Properties dialog, then edit the new type | Only the doors you move onto the new type, and only in this project | One or a few openings need a different size while the rest stay as they are |
For a door that needs a different width, the duplicated type is the row I'd pick, because the size stays a named type that schedules and tags can read, and the doors left on the old type keep theirs. The risk sits in the second row: Edit Type opens the type properties, and a Width typed straight into that dialog reaches every door of that type in the project, including doors placed next month. The help's route for creating a new family type in a project avoids it:
- Select only one of the two doors. The Type Selector shows its current type.
- On the Properties palette, click Edit Type. The Type Properties dialog opens on that type.
- Click Duplicate, enter a name in the Name dialog and click OK. A name that says what differs, such as the new width, keeps the Type Selector readable.
- Change Width, or whichever type parameter differs, and click OK.
- Check the result: the selected door now shows the new type name in the Type Selector. Select a neighboring door of the old type, and its Type Selector should still show the old name.
The new type exists only in that project. To move more doors onto it, select them and pick the type from the Type Selector; the help on changing element types notes that a multiple selection has to be one category and that every selected element changes to the chosen type.
Instance: this door in this wall
The instance is the one door you clicked into the wall. Its door instance properties include Level, Head Height, Sill Height, Frame Type, Frame Material, Comments, Mark, Phase Created and Phase Demolished, and they appear in the Properties palette while the door is selected. Autodesk's own split for a window shows the logic: the window's dimensions are type properties, while its elevation from the level is an instance property. Mark is the door's own number. Revit numbers doors in the order they are placed, regardless of type, and two doors with the same Mark trigger a warning but are allowed. Some instance values are read-only and appear shaded. If the palette has been closed, Modify tab > Properties panel > Properties brings it back, as does View tab > Windows panel > User Interface > Properties, according to the help on the Properties palette.

The same door in plan, section, 3D, schedule and sheet
Once the door exists, every view that shows it presents the same model element. The help on project views lists plans (floor plans, reflected ceiling plans and structural plans), sections that cut through the model, elevations, and 3D views that can be perspective or orthographic, and it says Revit propagates a change made in one view throughout the project. Cut a section through the wall and the door is already in it; open a 3D view and it is there as well. A tag behaves differently, since it is an annotation in the one view where it was placed. A tag added in the plan does not appear in the section until the door is tagged there too, with Annotate tab > Tag panel > Tag by Category or Tag All, per the help on tags.

The door schedule
The About Revit page says BIM delivers information about project design, scope, quantities and phases when you need it, and the schedule is where that becomes a table. "A schedule is a tabular display of information, extracted from the properties of the elements in a project," as About Schedules puts it, and its own example is a door: change a door's manufacturer property and the door schedule reflects it. To build one, follow the steps for creating a schedule: View tab > Create panel > Schedules drop-down > Schedule/Quantities, choose Doors as the category, keep Schedule building components selected, set the phase, and pick fields on the Fields tab of the Schedule Properties dialog. The Filter, Sorting/Grouping, Formatting and Appearance tabs come after. Mark, Width, Height and Fire Rating make a sensible first set, since all four are parameters of the door above.
For the check below, use a schedule that lists each door on its own row. A grouped row can represent several instances. Click a cell in the door's row and use Modify Schedule/Quantities tab > Schedule panel > Highlight in Model, which shows the element in a non-schedule view. Then change the duplicated type's Width once more and look at the row: it updates, because the schedule never stored the width, it read it.
The sheet
A sheet is where views and schedules are arranged for the document set. About Sheets describes a sheet view for each sheet in the construction document set, a title block, and viewports, each one the representation of a drawing or schedule placed on the sheet. Drag the plan from the Project Browser onto the sheet, or use View tab > Sheet Composition panel > Place View. Reach matters again here: according to the help on adding views to a sheet, a view can be placed on one sheet only, so a second appearance needs a duplicated view, while schedules and legends can sit on several sheets. The door in the plan viewport is still the door in the model, so the Width change reaches the sheet without anyone editing the sheet. The whole sheet routine, from title block to numbering and printing, is in the guide to creating sheets in Revit.
What BIM needs beyond one Revit file
Everything so far happened inside one project file. A building project also involves models from other disciplines, several people editing at once and software that is not Revit, and the 2027 help gives each of those a different route. This is also where Revit LT's file-to-file limits begin.

Linked models and Copy/Monitor
The help on linked models says linking is primarily intended for separate buildings, that architectural, structural and MEP models can be linked, and that links appear in the Revit Links branch of the Project Browser; the page on when to link models adds coordination across disciplines, such as an architectural model and a structural model. With Copy/Monitor, the structural team can copy levels and grids from the linked architectural model and monitor changes to them. For notification in both directions, the architect must also link the structural model and monitor the corresponding elements. Revit LT can link a Revit or DWG model and can tag and schedule elements in links, but the Copy/Monitor note for Revit LT says "In general, you cannot use the Revit Copy/Monitor tools in Revit LT", and the LT comparison lists shared coordinates among projects and custom visibility of linked models as missing from LT.
Worksharing: several people in one model
Worksharing in Revit "is a design method that allows multiple team members to work on the same project model at the same time". Enabling it creates a central model; each person works in a local copy of that central model, and the work is divided into worksets. This is full Revit only, since multi-user access to projects is on the list of what Revit LT lacks. The 2027 help on cloud models also describes a cloud route, where Revit Cloud Worksharing for several users at once needs a Forma Design Collaboration subscription.
IFC: exchange with software outside Revit
For a team that does not use Revit, the open route in the help is IFC, which Autodesk's IFC export overview describes as a file format maintained by buildingSMART that sets international standards for importing and exporting building objects and their properties. According to About Revit and IFC, Revit 2027 opens or links IFC2x3, IFC2x2 and IFC2x files, links IFC4 files without opening them, and exports IFC4, IFC2x3 and IFC2x2. Updated IFC exporters are published on the Autodesk App Store and installed separately.
The export route is File tab > Export > IFC, which opens the Export IFC dialog with nine built-in setups, per the steps for exporting a model to IFC; the IFC file and a log file are written to the target folder. Read the log before the file goes out. Check family mapping as well: Autodesk's About Revit and IFC page notes that Revit walls export as ifcWalls, while other families may need mapping to the right IFC class. IFC import and export are on the Revit LT side of the comparison too.
Standards sit above the software
A BIM standard is not a Revit setting. It is a document that says which information a project needs and how it is exchanged, and the model has to be built to it. In the United States, the National Institute of Building Sciences publishes the National BIM Standard-United States (NBIMS-US), a consensus-based standard that defines BIM uses, requirements, planning and documentation for information exchanges. Whichever standard a project follows, its demands land on the same ladder: elements in the right category, parameters filled in on the right rung, and views that read from the model.
Where the single-door route stops
This route ends at the edge of one project and one release. The duplicated type lives in this project only, so for a door size every future project should offer, I'd put it in the family's own types or in the template the next project starts from, which is family and template work rather than project work. The steps and names above follow the Revit 2027 help, and none of the door steps needs a tool missing from Revit LT; its file-to-file limits begin at Copy/Monitor and worksharing. The next model step is the family behind the door, covered in how Revit families work, from system and loadable families to in-place elements.