How to load a family in Revit and place it in a project
Insert tab, Load from Library panel, Load Family brings an RFA into one project and lists it under Families in the Project Browser. Then place it, with a desk as the example, reload it after the file changes, and see why a family saved in a newer release stays out of reach.
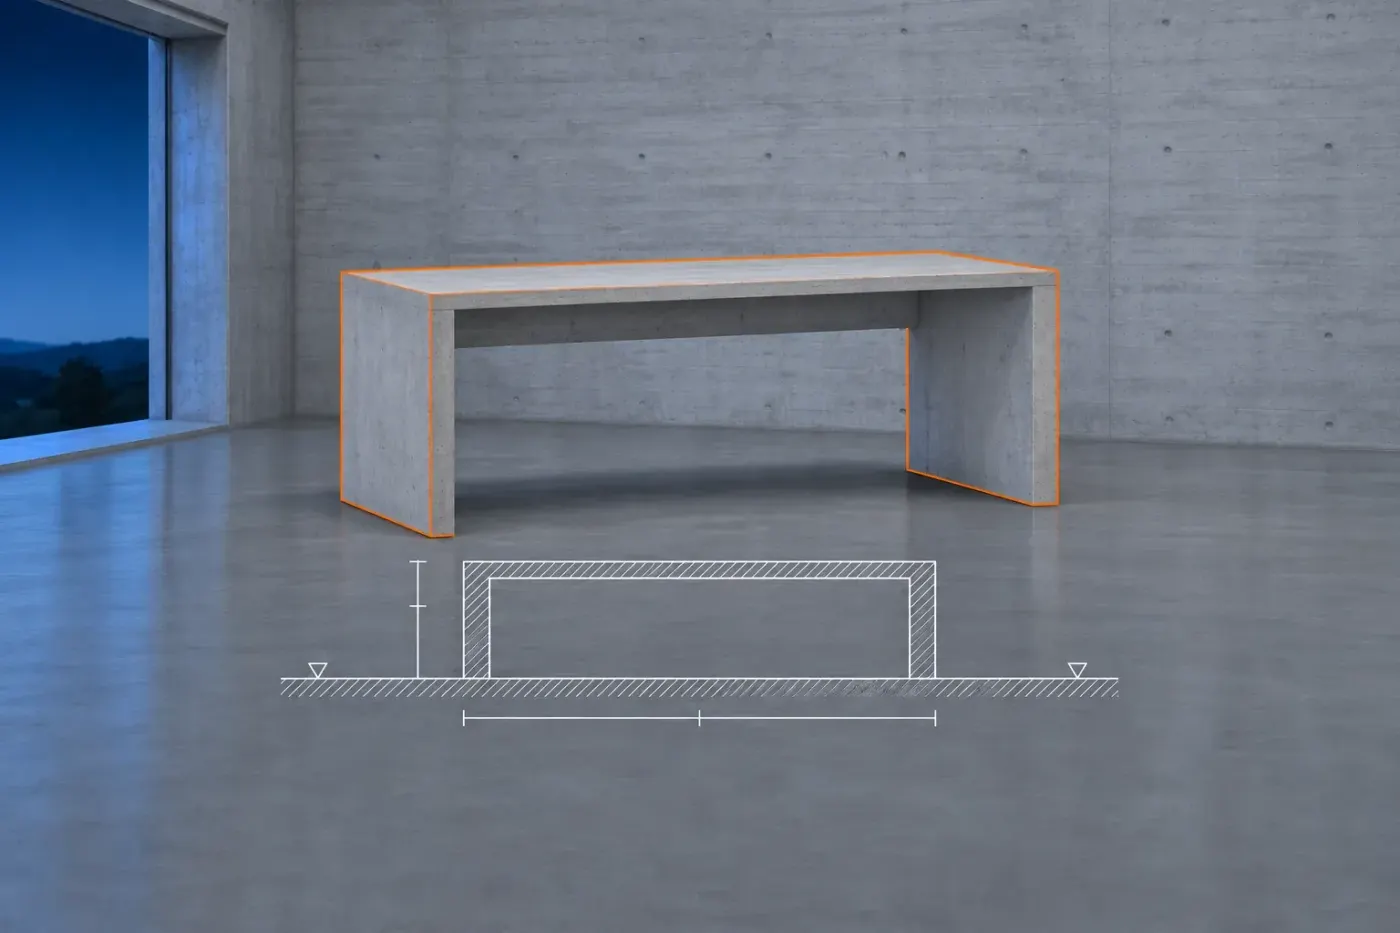
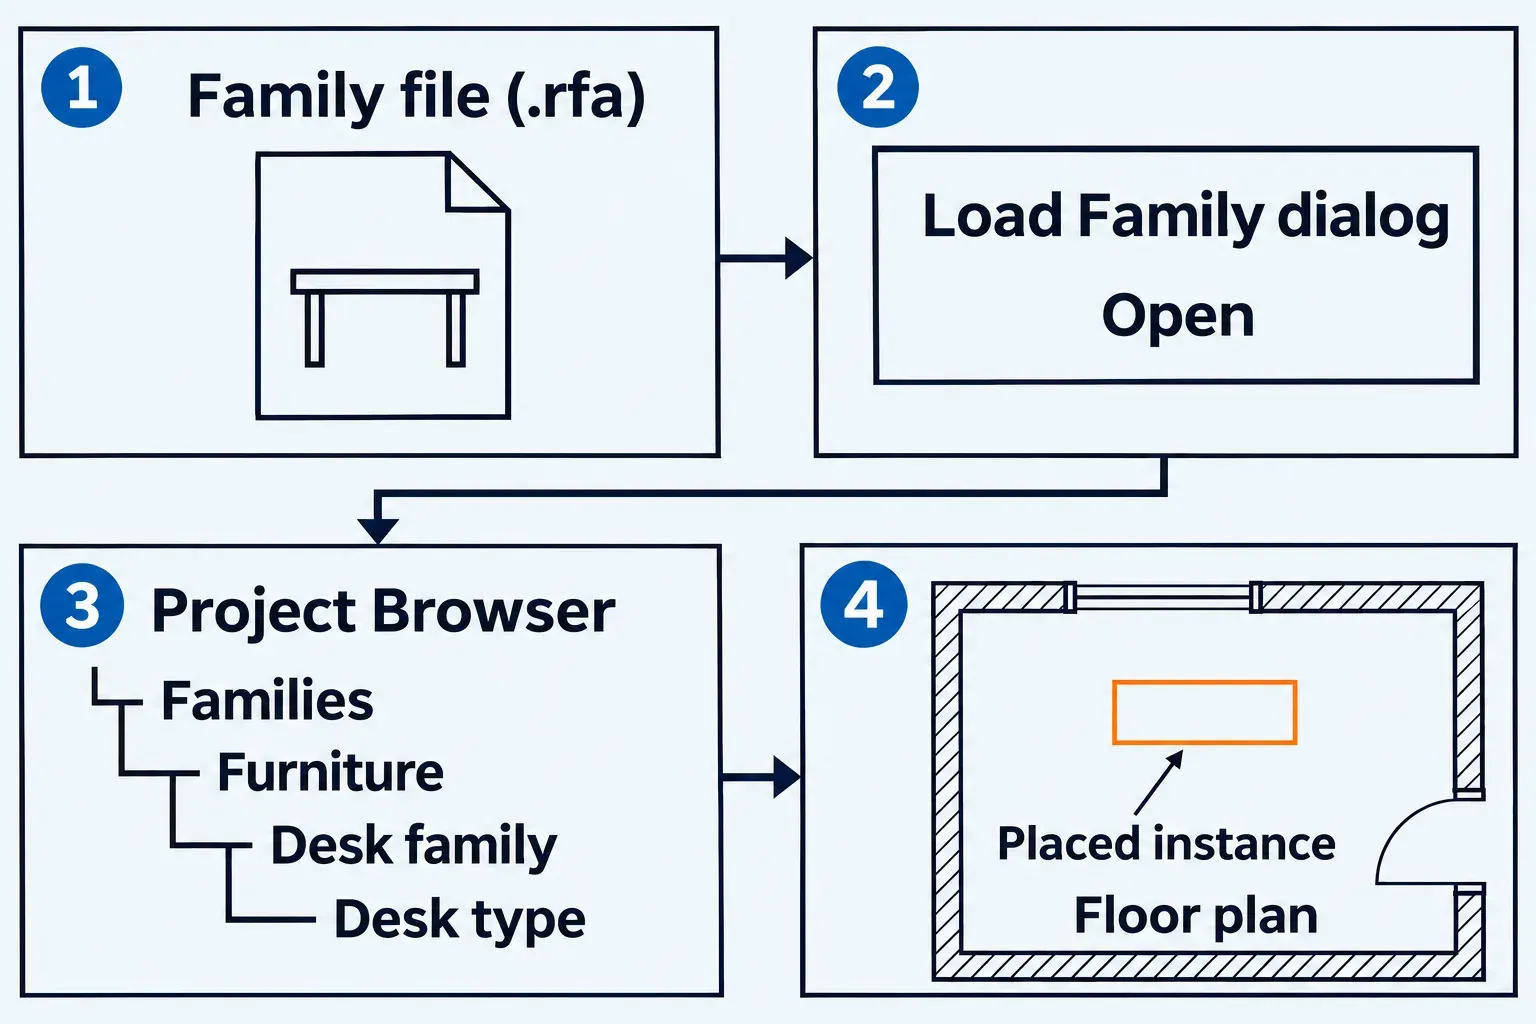
To load a family in Revit, choose Insert tab, Load from Library panel, Load Family. Select the RFA and click Open, then find its types under Families in the Project Browser. Loading makes those types available; place an instance with its category's placement tool or drag the type into a suitable view.
These ribbon routes follow Revit 2027 on Windows. Revit LT 2027 documents the same loading and reloading routes; its placement options appear with the desk example below. A loaded family is saved with the project, so edits to the RFA on disk reach that project only after a reload.
The category, family, type and instance ladder is explained in what a Revit family is; the Revit families section covers the related modeling tasks.
Before you click Load Family
Load Family runs in any project or template, but the steps after it depend on three things being in place first.
- A view the family can go into. The placement topic's own example is that a desk can be placed in a plan or 3D view but not in a section or elevation. Open the floor plan of the level the desk belongs on before you start.
- The Project Browser on screen. The check after loading happens there, and Find in Project Browser only works from the drawing while the browser is displayed. If it has gone missing, View tab, Windows panel, User Interface drop-down, Project Browser brings it back; the Project Browser has a page of its own for the rest of its habits.
- The folder that holds the RFA. The dialog opens on the Revit library by default, which for Revit 2027 is
%ALLUSERSPROFILE%\Autodesk\RVT 2027\Libraries. The folder name includes the product and the release number. An office that keeps its content somewhere else may have pointed Revit at that location instead, and the help's advice there is to ask your CAD manager. Manufacturer downloads sit wherever you saved them; where to find families, and how far each source can be trusted, is covered separately.
An empty library folder can mean that the family library was never installed. "Content is not installed during application installation," the Load Families topic says; Autodesk treats family libraries as optional content that Custom Install can add during setup, and the troubleshooting topic for an empty library folder adds that content can also fail to install over a slow internet connection. In both cases the fix is to download and install the Revit content library for your release: the packs sit in your Autodesk Account under All Products and Services, Revit, Available downloads, on the Libraries tab, and each one is specific to a language, a region and a discipline. With no local library at all, Load Autodesk Family, described below, reaches Autodesk's content over the internet instead.
Only loadable families come in through this dialog. Walls, floors and roofs are system families, predefined inside Revit rather than loaded from external files, so their types move between projects by copy and paste or Transfer Project Standards.
Load the RFA and check it under Families
- Click Insert tab, Load from Library panel, Load Family. The dialog opens on the default library, or on your office's library if Revit has been pointed there.
- Double-click the category folder that holds the family you want.
- Preview before you commit. Select one RFA in the list and its thumbnail shows at the top right of the dialog, under Preview. To see a thumbnail for every family in the folder at once, click Views, Thumbnails in the top right corner of the dialog.
- Select the RFA and click Open.
Check the load in the Project Browser: open its Families tab, expand the category, then the family, and look for its types, as the Load Families topic for Revit 2027 describes. Typing part of the family name into the Search box at the top of the browser finds it across every tab. One message can interrupt the load: a family saved in an earlier release is upgraded on the way in, and the section on newer releases below explains what Cancel does at that point.
Loading from inside the Door, Window or Component tool
The placement tools carry their own Load Family button. With Door, Window or Place a Component running, the contextual tab shows Load Family on its Mode panel, and the type you load becomes the active type in the Type Selector, ready for the next click in the plan. The catch is the category. A family loaded this way has to belong to the category you are placing, and anything else is refused with this warning, the name in angle brackets changing with the tool:
Some or all of the family files you selected cannot be loaded. You must choose family files of the category <Component>. Do you want to retry loading a new set of files?
Autodesk's troubleshooting note on this warning gives two ways out: retry with a family of the matching category, or load from the Insert tab, where families of any category are accepted. The Insert route is the one I'd default to for anything you are not placing this minute, because it takes a family of any category while the button inside a tool takes only one.
Load Autodesk Family when no library is installed
The other load button on the same panel, Insert tab, Load from Library panel, Load Autodesk Family, opens Autodesk's default content from a cloud repository instead of a folder. According to Autodesk's page on Load Autodesk Family, it needs both an Autodesk subscription and internet access, and the button turns gray and inactive while another command is running: with the Door tool active, you cannot load a door this way. Finish the other command first, or fall back on Load Family with a local file.
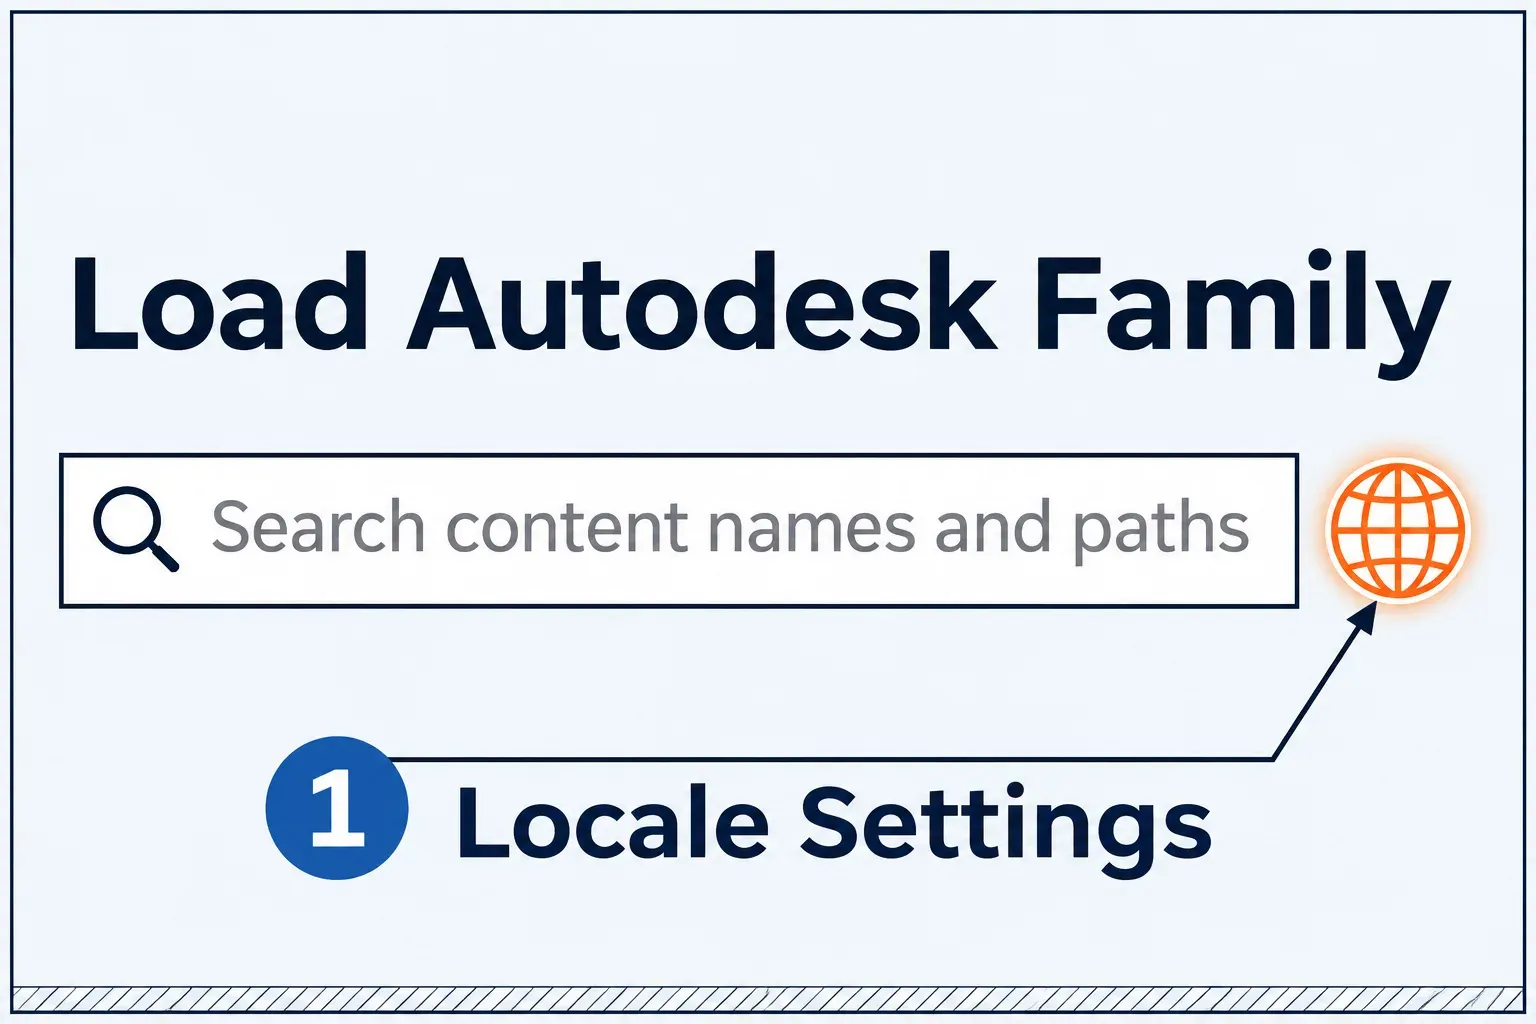
In the dialog, use the globe to the right of Search to open Locale Settings and choose another language or region. Then search, filter by category or use Browse until the family shows, preview it, select one or more families and click Load. They land under Families in the Project Browser like any other load. Autodesk warns that selecting more than 50 families at once may affect performance and suggests installing the library locally for loads that size. The Revit LT 2027 help describes the same tool with the same conditions.
A family that comes with a type catalog
Some families arrive as a pair: the RFA plus a TXT file with the same name in the same folder. That TXT is a type catalog, and Autodesk recommends one for any family with 6 or more types, since loading every type of a large family fills the project and the Type Selector with types nobody will place.
Load it by the same Insert route. Selecting the RFA opens the Type Catalog instead of loading straight away: pick types in the Type column, hold Ctrl for more than one, narrow the list with the filter at the top of each column, and click Open. The catalog loads the selected types instead of every available type. Confirm the selected types appear under the family in the Project Browser; types already in the project remain. When you copy such a download into an office library, move the TXT with the RFA and keep both names identical: loading a family with a type catalog starts from the catalog sitting in the same directory as the family, and Autodesk's steps for creating a type catalog give it the family's name with a .txt extension.
Place a desk in the floor plan
Adding furniture in Revit is the plainest case of placing a loaded family, so a desk stands in here for any freestanding component. Start in the floor plan you opened earlier, since the Place a Component steps for Revit 2027 rule out sections and elevations for a desk.
- Click Architecture tab, Build panel, Place a Component. Structural and MEP users reach the same tool from the Structure tab or the Systems tab, Model panel, Component drop-down, Place a Component.
- In the Type Selector at the top of the Properties palette, choose the desk type. If the desk is not loaded yet, Modify | Place Component tab, Mode panel, Load Family brings it in without leaving the tool, under the category rule above.
- If the family was built face-based or work plane-based, the Placement panel on the same tab asks where it goes: Place on Vertical Face, Place on Face or Place on Work Plane, with the option you used last already selected. Place on Work Plane also needs an active work plane defined in the view. Families defined neither way go straight to the next step.
- Move the cursor into the plan until the preview sits where the desk belongs. Press the Spacebar to rotate the preview, then click to place the desk.
The Project Browser offers two routes that skip the ribbon: drag the desk type from under Families into the drawing area, or right-click the type and choose Create Instance, then set any placement values in the Properties palette or on the contextual Modify tab and click to place. Revit 2027 moved the old Options Bar controls to those two places, so a course that still sends you to the Options Bar at this step points to a bar that's gone. The Revit LT 2027 topic on using families in the project prints both routes, so LT users can follow them as written.
To confirm what landed, select the desk, right-click and choose Find in Project Browser. The browser highlights the desk's family under Families, which tells you where the desk in the plan came from without opening anything.
Loaded, but nowhere to be found
- The family is missing from the placement tool. Search for it in the Project Browser, open its category under Families and expand the family to its types. Right-click the type and choose Create Instance to start placement from that type.
- You cannot place the component in this view. Check the view and the family's host requirements. For the desk in Autodesk's placement example, switch from an elevation to a floor plan or 3D view. A face-based or work plane-based component also needs the face or active work plane described above.
- The family loads but behaves as if broken. Autodesk's topic on families that have become unusable prefers reloading a stable version of the file, because the placed instances stay, over deleting the family, and then auditing the model. Deleting is the heavier move: Delete from Project, on the family's right-click menu, removes every placed instance along with it.
Reloading after the RFA changes
Editing the RFA on disk does nothing to the project until you load it again, and a reload swaps the family definition for the whole project, not for one view or one instance. There are three ways in:
- From the Insert tab. Insert tab, Load from Library panel, Load Family, then select the updated file and click Open.
- From the Project Browser. Right-click the family under Families, choose Reload, find the updated file, select it and click Open.
- From the Family Editor. Open the family from the project by double-clicking an instance, by Modify | <Element> tab, Mode panel, Edit Family, or by right-click, Edit. After the change, Create tab, Family Editor panel, Load into Project keeps the family open, while Load into Project and Close prompts you to save and then closes it. The project you are loading into has to be open in the same Revit session; with several projects open, the Load into Projects dialog lets you pick which ones receive the family.
Loading the updated file over a family the project already has brings up the Family Already Exists dialog, and its two overwrite choices reach different distances, as the Revit 2027 topic on reloading a family spells out:
- Overwrite the existing version replaces the family definition, its geometry, and leaves the parameter values assigned in the project as they are.
- Overwrite the existing version and its parameter values also replaces the type parameter values with the ones saved in the file. Autodesk's example is the URL parameter: a URL set in the project gives way to the one set in the Family Editor. Where the family is already placed, those type values change throughout the project.
- Cancel leaves the project unchanged.
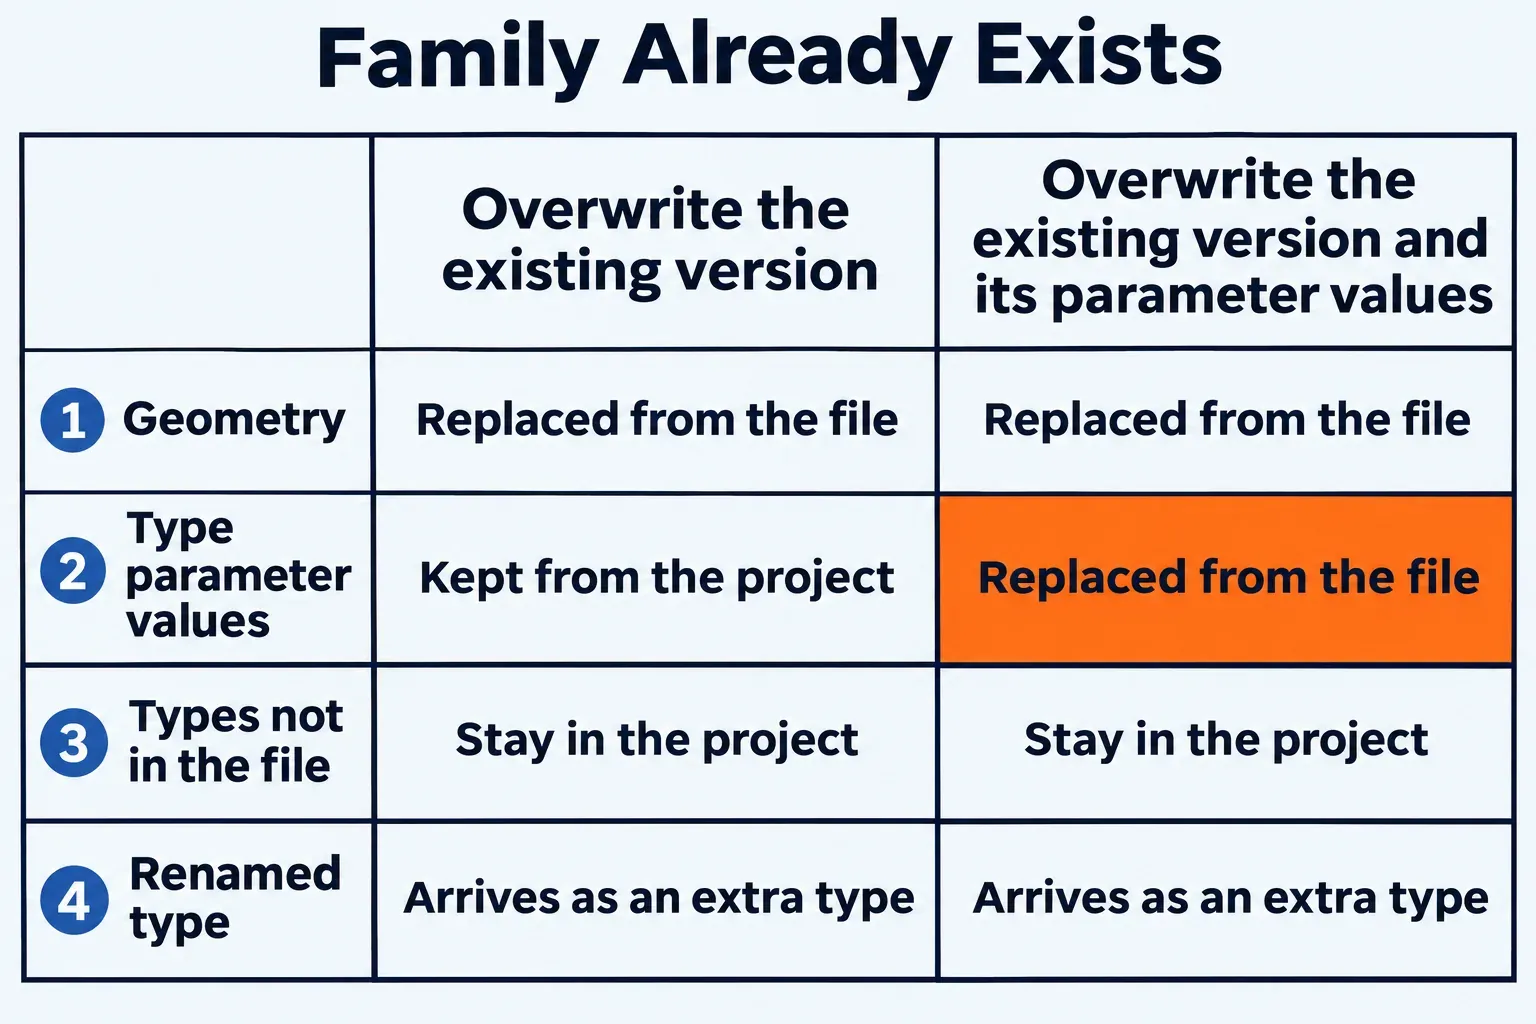
The first choice is the one I'd reach for whenever the project carries values of its own, such as a URL someone filled in after loading, because it brings in the new geometry and leaves those values alone. Take the second only when the values saved in the RFA are the ones every placed instance should carry from now on. When several families reload at once, selecting Do this for all loading families saves answering for each one.
Both choices retain family types that exist in the project but not in the reloaded file, and a type renamed in the Family Editor arrives as an additional type beside the old name rather than replacing it. So the check after a reload is the type list under the family in the Project Browser: an old name and a new name side by side is a rename that came in as a second type. Autodesk's advice on the same page is to settle type names early, because a later rename leads to switching placed instances to the new type and purging the unused old one.
An RFA saved in a newer release
Release numbers only travel forward. Autodesk words the rule for models: Revit models are not backwards compatible, so a model upgraded and saved in a later release no longer opens in an earlier one. The same topic lists families (RFA files) among the files that may need an upgrade, which puts a family last saved in a later release than yours out of reach for your project, however the refusal is worded on screen.
The other direction works on its own. Load an RFA from an earlier release and the upgrade starts automatically, with a message naming the release the family was saved in and the release it is being upgraded to. Cancel the upgrade there and the family is neither upgraded nor loaded into the project.
To read which release last saved a file before trying it, select the file in the Revit Open dialog, which shows that release. When the family turns out to be too new, ask whoever supplied it for a copy saved in your release, or build an equivalent family in your own release. Take care with shared libraries too: by the same rule, an office RFA opened and saved in a newer release is upgraded for good, and colleagues still on the earlier release can no longer use that copy, so keep library copies in the release the office works in. For a whole project heading the other way, saving a Revit file to an older version has its own page.
Where loading stops being the right route
Loading assumes there is an RFA file to load. Two neighbouring jobs start from a family that is already inside a project. To get a file back out of a project, for an office library or for a colleague, use File tab, Save As, Library, Family, or right-click the family in the Project Browser and choose Save. Picking <All Families> saves every loadable family at once, while in-place and system families cannot leave this way.
Use that saved RFA to move the family into another project, then load it there with Load Family. Autodesk warns against copying and pasting families between projects because the practice may contribute to model instability. The saved-file route also leaves you with a reusable library file.
For Revit LT, the 2027 LT help prints the same Load Family and Reload steps as the Revit help, so an RFA is loaded into an LT project and reloaded there as described above. Where the library holds nothing close to the desk you need, the next step is to build your own family from a template, save it as an RFA and bring it in through the same dialog.